How to improve the performance of a WordPress blog
The Wattspeed blog was on our roadmap for some time now, so last week we’ve finally managed to get it up and running.
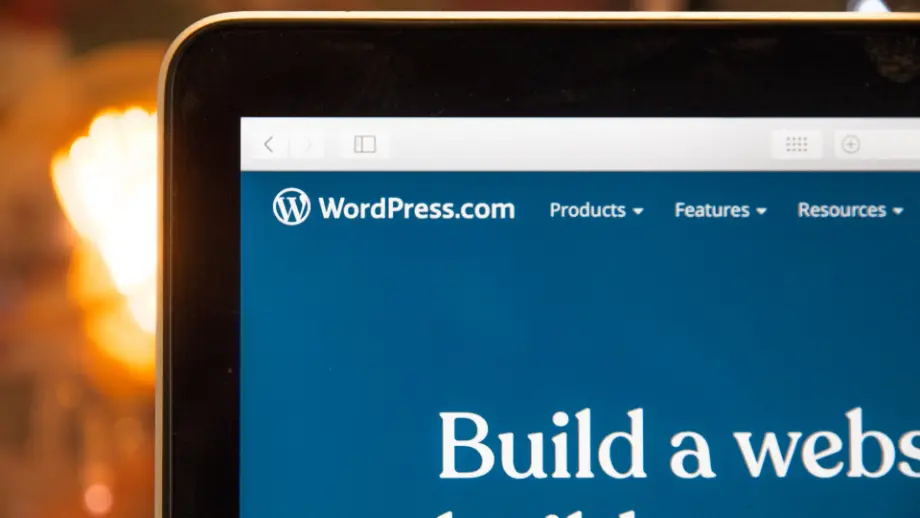
Here at Wattspeed, we are some kind of JavaScript frameworks freaks, but for the blog, we’ve chosen to use WordPress via WP Engine.
The benefits of using WordPress for a blog are not worth to mention because they are proven, but hosting on WP Engine consists in many advantages, among which you will find an already integrated CDN and no maintenance headache.
In the process of creating our blog, we didn’t took into account the performance at all, even more so, we ignored it in order to have a low performance one so I can explain to you what you can do to improve it later, although the steps to improve an existing one are the same as the ones that you need to do when you are creating it.
So as you can see, there is no rocket since in our blog, we’ve just got a free WordPress theme and modified it to fit our needs. In the home page, we have a navigation bar, two widgets, a carousel showing the latest articles and some blogpost cards, each of them containing an image, text for title and description and some buttons, so there should not be to much work to do for the browser, right?
Even so, we’ve had 61 performance score while tracking from the Southeastern coast of the US, and slightly lower from Frankfurt and London.
Why? Let’s track down each issue that we’ve had and see how did we solved them.
There may be cases when your issues will be different that ours. Don’t hesitate to comment down below so maybe we can fix those together!
It’s important to know that only metrics like LCP, TTI, TBT, LCP and so on will affect your score, none of the issues from the report will affect it. But for example having a predefined dimension for each image will affect the Cumulative Layout Shift and so the performance score will be altered too.
As you can see below in the screenshot from the Snapshot report, we were only having a green Total Blocking Time and Speed Index, the rest of the metrics being marked as warning or error. What we did was to loop through the Opportunities and Diagnostics sections and try to find out what we can do to improve those issues.

Serve images in next-gen formats
This was the first thing that brought up our performance score. What this means is that you need to convert the images into a next-gen format like WebP as an alternative to the old PNG or JPEG formats. The next-gen formats have a better compression which results in faster loading times while preserving the image quality.
To solve this issue, we’ve decided to use a WordPress plugin, called Imagify.
By doing this, we’ve managed to get from a 61 performance score to 63.
Tips & Tricks: Always try to upload images in next-gen format in order to reduce the use of plugins. As we already had the images uploaded in jpeg format, this was a one time job. Next time we’re going to upload images in .webp.
Eliminate render-blocking resources

Render-blocking resources are files that are mandatory for the rendering process to happen. Let’s say there is a CSS file that styles the whole page, without it, the HTML will look bad, the same can happen with JavaScript files, without them the page will lack functionality. When the browser encounters a resource of this type, it stops loading the other type of files, like images, until the render blocking resources are processed.
To fix this issue, we relied on 2 plugins, Async JavaScript and W3 Total Cache. Of course, we could fix this issue manually, but why bother since there are various plugins that can do that for us.
For the JS files, inside the Async JavaScript plugin, I’ve checked the Enable Async JavaScript option, and Defer method for both Javascript and jQuery.
Tips & Tricks: Do some tests after every step, in some cases, using defer on jQuery may brake some functionalities.
As you can see in the issue above, we had only one javascript file, so we needed do fix the css files too.
To do this:
- Go to the General Settings section of the W3 Total Cache plugin, where you will need to enable the Minify option.
- Go to the Minify section and enable the minify option for both JS and CSS.
In the CSS section, we’ve manually added the files we’ve found in the Render-blocking resources issue of the snapshot, and suddenly, some metrics moved on the green side. At this step, we have a 83 performance score.
Tips & Tricks: If you’re using WP Engine, don’t forget to clear the cache from Caching section of your WP Engine site dashboard.
The last thing we needed to do was to preconnect to origins while loading Google Fonts. There is a plugin for doing this too, but since we’re only using one font and will not add another in the future, we’ve decided to do this manually. In out theme files, we needed to find the code where the font was imported and remove or comment it. For our theme, it was in the functions.php file. After doing that, we needed to load the font using preconnect, so we’ve headed to our header.php file and added this:
<link rel="dns-prefetch" href="https://fonts.gstatic.com">
<link rel="preconnect" href="https://fonts.gstatic.com" crossorigin="anonymous">
<link rel="preload" href="https://fonts.googleapis.com/css?family=Roboto&display=swap" as="fetch" crossorigin="anonymous">
Defer offscreen images
The only thing that’s left to fix in the Opportunities section, is to fix the Defer offscreen images issue. With W3 Total Cache you can enable lazy loading from the General Settings -> User Experience, or use any plugin from here.

Largest Contentful Paint improvements
By now, we have an amazing score of 89, the only metric not being on the green side is the Largest Contentful Paint. As you can see in the filmstrip, while loading the page that metrics is marked at almost the 4th second of the load.
What’s interesting right now, is the fact that the page loads with a white screen, then starts to render some elements, then the Largest Contentful Paint occurs.
It’s time for some detective work to get this fixed, maybe the server is too slow or maybe there is too much work that the browser needs to do before painting the biggest element on the page.
What we’ve discovered using the request map tool from Snapshot -> Page Source, was the fact that the author’s avatar was taking too much to load via Gravatar. To fix that, we’ve decided to use local avatars instead of Gravatar using the One User Avatar plugin. After doing that, the time for loading the avatar decreased from 11.90 ms to 0.07ms.
Tips & Tricks: The tree chart lets you see the requests grouped by type using an easy to read representation of the dimension (size of time). It basically draws every resource as a square proportionally with its size (in kb of ms). As you can see, our Gravatar was as big as the Others section, which was huge for a small image.
Going forward using the same tool, we’ve found that our theme was using Font Awesome Brands (a set of icons containing logos for social media and companies) but we were using only Twitter’s icon. What we did was to remove everything from the file except that logo, reducing the size from 72.56kb to only 701b.

Before

After
After checking the score again, we were pleasantly surprised to see everything on the green side, with a performance score of 98.

So that’s how we did it, depending on your theme, you may have the same issues as we had or lack some of them. What we do recommend, is to start with an optimised theme and build upon it, but if you already have a blog that needs improvements, this guide may help you.
Disclaimer: The print screens were captured while our Blog was in development.